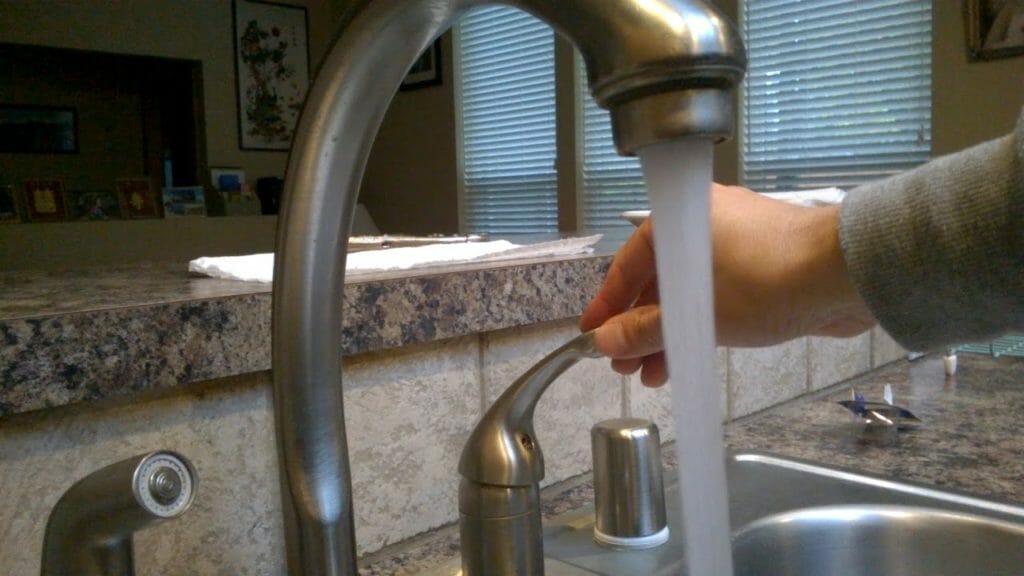
How to Replace a Single Handle Kitchen Faucet
Are you tired of your old kitchen faucet? Looking to replace it with a new single handle kitchen faucet? Look no further! In this comprehensive guide, we will walk you through the process of replacing a single handle kitchen faucet step by step. Whether you want to upgrade the design of your kitchen or fix a leaky faucet, we’ve got you covered. So, let’s dive in and learn how to replace a single handle kitchen faucet!
Why Replace a Single Handle Kitchen Faucet?
Before we jump into the nitty-gritty of replacing a single handle kitchen faucet, let’s briefly discuss why you might want to consider this upgrade. There are several reasons why replacing your old kitchen faucet is a good idea:
- Enhanced Functionality: Newer single handle kitchen faucets come with advanced features and functionalities, such as adjustable water flow and temperature control, making your kitchen tasks more convenient.
- Improved Design: Upgrading your kitchen faucet can give your kitchen a fresh new look. With a wide range of stylish and modern designs available, you can find a faucet that complements your kitchen decor perfectly.
- Water Efficiency: Many newer kitchen faucets are designed to be more water-efficient, helping you conserve water and reduce your utility bills.
Now that we’ve highlighted the benefits of replacing a single handle kitchen faucet, let’s get into the details of the replacement process.
Removing the Old Faucet
Tools You’ll Need:
Before you begin, make sure you have the following tools handy:
- Adjustable wrench
- Basin wrench
- Screwdriver (Phillips and flathead)
- Plumber’s tape
- Bucket or towel to catch any water drips
Step 1: Shut off the Water Supply
To avoid any water leakage during the replacement process, you need to turn off the water supply to the kitchen faucet. Look for the shut-off valves under the sink and close them by turning them clockwise.
Step 2: Disconnect the Supply Lines
Next, you need to disconnect the supply lines that connect the faucet to the water supply. Use an adjustable wrench to loosen the nuts that secure the supply lines to the faucet. Once loose, you can detach the lines by unscrewing them manually.
Step 3: Remove the Faucet Mounting Nuts
Now, locate the mounting nuts that hold the faucet in place. These nuts are usually located underneath the sink. Use a basin wrench to loosen and remove the nuts. Once the nuts are removed, you can lift the old faucet out of the sink.
Installing the New Faucet
Step 4: Prepare the Sink
Before you install the new faucet, it’s important to clean the sink thoroughly and remove any debris or old putty. This will ensure a clean and secure installation.
Step 5: Install the New Faucet
Place the new faucet into the mounting holes on the sink. Make sure it is aligned properly. From underneath the sink, secure the faucet in place by tightening the mounting nuts with a basin wrench.
Step 6: Connect the Supply Lines
Attach the supply lines to the corresponding hot and cold water inlets on the faucet. Use an adjustable wrench to tighten the nuts and ensure a snug fit. Be careful not to overtighten, as it may cause damage to the fittings.
Step 7: Turn on the Water Supply
Once the faucet is securely installed and the supply lines are connected, it’s time to turn on the water supply. Slowly open the shut-off valves under the sink in a counterclockwise direction. Check for any leaks and tighten the connections if necessary.
Congratulations! You have successfully replaced your single handle kitchen faucet. Enjoy the enhanced functionality and aesthetic appeal of your new faucet.
FAQs
Q: How long does it take to replace a single handle kitchen faucet?
Replacing a single handle kitchen faucet typically takes around 1 to 2 hours, depending on your level of experience and the complexity of the installation.
Q: Can I replace my kitchen faucet myself, or do I need to hire a professional?
While it is possible to replace a kitchen faucet yourself, it’s important to consider your level of plumbing knowledge and experience. If you are unsure about any aspect of the installation, it’s recommended to hire a professional plumber to ensure a proper and leak-free installation.
Q: Do I need any special tools to replace a single handle kitchen faucet?
The basic tools required to replace a single handle kitchen faucet include an adjustable wrench, basin wrench, screwdriver (Phillips and flathead), plumber’s tape, and a bucket or towel to catch water drips.
Q: Can I reuse the supply lines from my old faucet?
It is generally recommended to replace the supply lines along with the faucet. Over time, supply lines can become corroded or worn out, leading to leaks. Installing new supply lines ensures a secure and leak-free connection.
Q: How often should I replace my kitchen faucet?
The lifespan of a kitchen faucet can vary depending on its quality and usage. On average, a well-maintained faucet can last anywhere from 10 to 20 years. However, if you notice any leaks, decreased water flow, or other issues, it may be time to consider replacing your faucet.
Q: Can I install a new kitchen faucet on my own if I have limited plumbing knowledge?
If you have limited plumbing knowledge, it’s recommended to hire a professional to install your new kitchen faucet. They have the expertise and tools to ensure a proper and leak-free installation, saving you time and potential headaches.
Conclusion
Replacing a single handle kitchen faucet is a rewarding DIY project that can enhance the functionality and appearance of your kitchen. By following the step-by-step guide provided in this article, you can confidently replace your old faucet with a new single handle design.
Remember to gather the necessary tools, shut off the water supply, and take your time during the installation process. If you encounter any difficulties or feel unsure about any step, don’t hesitate to seek professional assistance. Enjoy the benefits of your newly installed kitchen faucet and happy cooking!