Mastering the Art: How to Remove a Moen Kitchen Faucet Like a Pro
Are you facing the daunting task of removing your Moen kitchen faucet and wondering where to start? Fear not, as we’ve got you covered with a step-by-step guide on how to remove a Moen kitchen faucet effortlessly, whether it’s a single handle, has a sprayer, or both. Moen faucets are known for their durability and innovative design, but when it comes time for an upgrade or repair, knowing how to remove them properly is crucial. In this article, we will walk you through the process, providing valuable insights and expert tips.
Interesting Facts and Features
| Fact | Did You Know? |
|---|---|
| Moen’s Legacy | Moen, founded in 1937, introduced the single-handle faucet to the market, revolutionizing the way we control water temperature and flow. |
| Innovative Design | The Moen MotionSense technology allows for hands-free operation, making kitchen tasks more convenient and efficient. |
| Water-Efficient | Moen faucets often come with WaterSense technology, promoting water conservation without sacrificing performance. |
| Durability Test | Moen faucets undergo rigorous testing, including a life cycle test of over one million uses, ensuring long-lasting reliability. |
Now, before delving into the removal process, let’s take a moment to appreciate the features that make Moen kitchen faucets stand out:
- Spot Resist Finish: Moen faucets are equipped with a spot resist finish, preventing water spots and fingerprints for a cleaner look.
- Reflex System: The reflex system ensures smooth operation and easy movement of the faucet’s spray head, providing maximum flexibility and range.
- Duralock Quick Connect System: Moen’s Duralock system simplifies the installation process, allowing for a secure connection without the need for tools.
- Power Clean Technology: This feature provides a powerful rinse, effectively removing stubborn residue while minimizing water splash.
- High Arc Spout: Many Moen faucets feature a high arc spout, providing ample space for filling large pots and pans with ease.
Step-by-Step Guide:
Step 1: Gather Your Tools
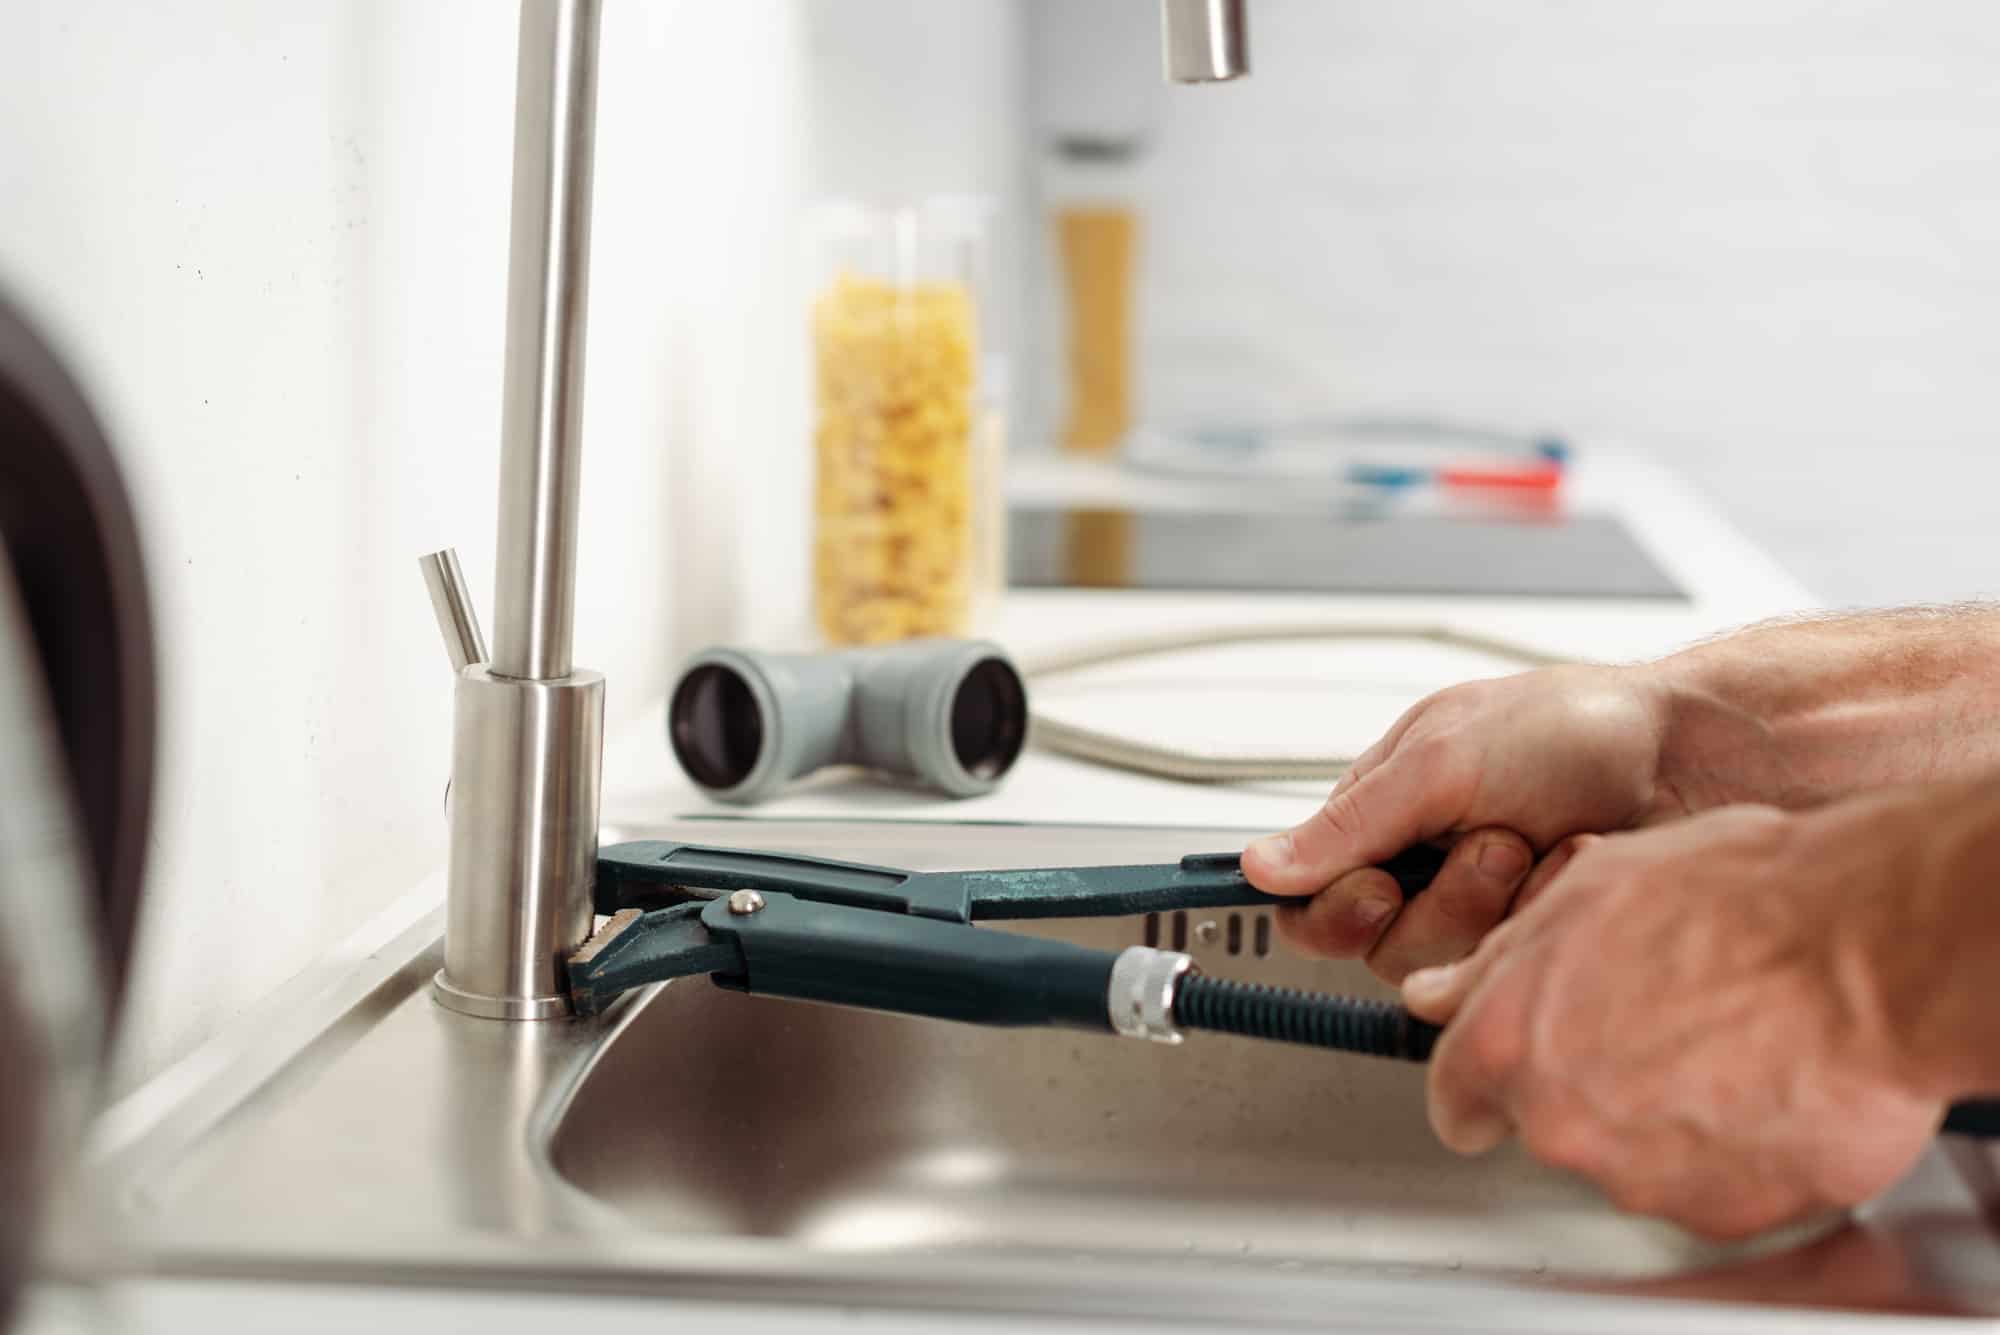
Before you begin, gather the necessary tools: an adjustable wrench, pliers, screwdrivers, and a bucket or towel to catch any excess water.
Step 2: Shut Off Water Supply
Locate the shut-off valves under the sink and turn them clockwise to shut off the water supply. If your faucet has hot and cold handles, turn off both valves.
Step 3: Disconnect Water Lines
Use the adjustable wrench to disconnect the water supply lines from the faucet. Be prepared for some water to drain, so have a bucket or towel handy.
Step 4: Remove the Faucet Handle
For a single-handle faucet, use a screwdriver to remove the screw securing the handle. For a double-handle faucet, remove the screws on both handles. Lift the handles off once the screws are removed.
Step 5: Loosen the Nut
Locate the nut securing the faucet to the sink and use pliers or a wrench to loosen it. Once loosened, you should be able to unscrew it by hand.
Step 6: Detach the Faucet
Carefully lift the faucet out of the sink, ensuring not to damage any surrounding fixtures. If your faucet has a sprayer, detach it by unscrewing the nut connecting it to the faucet.
Step 7: Clean and Inspect
Take this opportunity to clean the area where the faucet was installed. Inspect the condition of the components, and if you’re replacing the faucet, ensure the new one is compatible.
Conclusion:
In the realm of kitchen renovations and repairs, the process of removing a Moen kitchen faucet is a crucial skill that every homeowner should master. Whether you’re dealing with a single-handle model, one boasting a convenient sprayer, or a combination of both, understanding the nuances of removal is key. As we conclude this guide on how to remove a Moen kitchen faucet, we’ve covered the spectrum from the intricacies of a single handle to the added functionality of a sprayer.