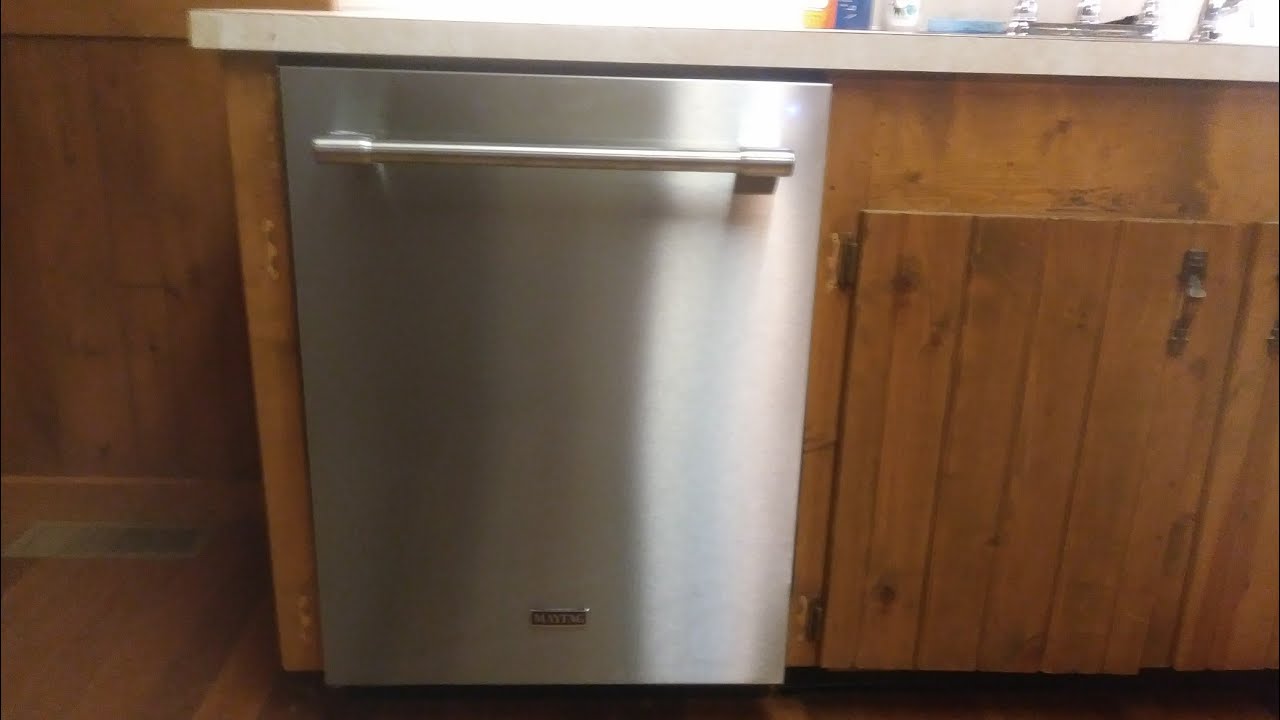
How To Add A Dishwasher To Existing Cabinets? A Useful Guide
Adding a dishwasher to existing cabinets can significantly upgrade your kitchen’s functionality and save you time on dishwashing chores. Whether you’re a DIY enthusiast or simply want to explore the process, this guide will walk you through the steps, from preparation to completion. With careful planning and the right tools, you can seamlessly integrate a dishwasher into your kitchen setup. In this article, we’ll delve into the detailed process of adding a dishwasher to existing cabinets, addressing common questions and concerns along the way.
1. Assessing Cabinet Space and Compatibility
Before embarking on your dishwasher installation journey, it’s crucial to ensure that your existing cabinets can accommodate the appliance. Measure the available space to determine the best location for your dishwasher. Consider factors such as cabinet depth, height, and width to ensure compatibility.
2. Gathering Essential Tools and Materials
To successfully install a dishwasher, you’ll need an array of tools and materials, including wrenches, screwdrivers, a drill, brackets, water supply lines, and electrical connectors. Make a checklist to ensure you have everything you need before you begin.
3. Shutting Off Utilities and Preparing Cabinets
Safety is paramount during the installation process. Turn off the water supply and disconnect any electrical connections in the area. Empty the cabinets to create a clear workspace, and remove the cabinet doors if necessary. This preparation will make the installation process smoother and more efficient.
4. Creating Access Points
For seamless dishwasher integration, you’ll need to create access points for water supply and drainage. Use a drill to create holes in the cabinet wall for water lines and drainage pipes. Ensure the holes are appropriately sized to prevent leaks and ensure efficient water flow.
5. Installing Mounting Brackets
Mounting brackets are essential for securing the dishwasher in place. Follow the manufacturer’s instructions to attach the brackets to the underside of the countertop. These brackets will provide stability and prevent the dishwasher from shifting during use.
6. Connecting Water Supply
Carefully connect the water supply line to the hot water source under your sink. Use a wrench to secure the connection, ensuring it’s leak-free. Attach the other end of the water supply line to the dishwasher’s water inlet valve.
7. Ensuring Proper Drainage
Proper drainage is crucial to preventing water buildup and damage. Connect the dishwasher’s drainage hose to the sink’s drainage system or garbage disposal unit. Make sure the hose is looped and secured to prevent backflow.
8. Wiring and Electrical Connection
If your dishwasher requires electrical power, follow safety guidelines while connecting the wiring. Turn off the circuit breaker and connect the electrical wires according to the manufacturer’s instructions. Once connected, secure the wires and restore power.
9. Securing the Dishwasher
Slide the dishwasher into the allocated space, aligning it with the mounting brackets. Carefully lift the front of the dishwasher to engage the brackets fully. Double-check that the dishwasher is level and secure.
10. Testing and Troubleshooting
Before celebrating your successful installation, it’s vital to test the dishwasher’s functionality. Turn on the water supply and run a short cycle to ensure proper water intake and drainage. Address any leaks or issues promptly to avoid future complications.
See more: Bleach in the Dishwasher
Expert Insights and FAQs
Q: Can I install a dishwasher if I have limited DIY experience?
A: While some DIY skills are beneficial, many homeowners successfully install dishwashers with the help of detailed guides and manufacturer instructions.
Q: Do I need to modify my existing cabinets extensively?
A: In most cases, minor modifications like creating access holes are sufficient to install a dishwasher without major cabinet changes.
Q: Can I connect the dishwasher to an existing electrical outlet?
A: It’s recommended to follow the manufacturer’s guidelines and use a dedicated circuit to prevent overloading an existing outlet.
How long does the installation process usually take?
A: Depending on your familiarity with the process, the installation can take several hours to complete.
What if I encounter leaks or drainage issues after installation?
ACheck the hose connections, drainage loop, and ensure the dishwasher is level. Addressing these factors can often resolve leakage problems.
Are there any alternatives to a professional plumber for water connections?
If you’re confident in your skills, you can connect the water supply yourself. However, hiring a professional plumber is advisable for a secure and leak-free installation.
Conclusion
Adding a dishwasher to existing cabinets is a rewarding project that enhances your kitchen’s efficiency and convenience. By carefully following the steps outlined in this guide and addressing common challenges, you can successfully integrate a dishwasher into your kitchen setup. Remember, proper planning, precise measurements, and attention to detail are key to a successful installation. With the right tools and a positive can-do attitude, you’ll soon be enjoying the benefits of a seamlessly integrated dishwasher in your kitchen.