How to Replace a Sprayer Hose on a Kitchen Sink: A Comprehensive Guide
Introduction
Welcome to our comprehensive guide on replacing a sprayer hose on a kitchen sink. A malfunctioning sprayer hose can be a frustrating issue to deal with, but with the right knowledge and tools, you can easily resolve this problem. In this guide, we will walk you through the step-by-step process of replacing the sprayer hose, ensuring that your kitchen sink is functioning optimally once again. So let’s dive right in!
Understanding the Importance of Kitchen Faucet Sprayer Repair
The kitchen faucet sprayer is a crucial component of your sink that allows you to direct water flow with ease. Over time, the sprayer hose may develop leaks, cracks, or become clogged, resulting in reduced water pressure or even a complete loss of functionality. It is essential to address these issues promptly to avoid further damage and inconvenience.
Step-by-Step Guide to Kitchen Sink Sprayer Repair
1. Gather the Necessary Tools
Before starting the repair process, gather the following tools to ensure a smooth experience:
- Adjustable wrench
- Pliers
- Replacement sprayer hose
- Plumber’s tape
- Bucket or towels for water containment
2. Shut Off the Water Supply
Locate the shut-off valves underneath your kitchen sink and turn them clockwise to shut off the water supply. This will prevent any leaks or water damage during the repair.
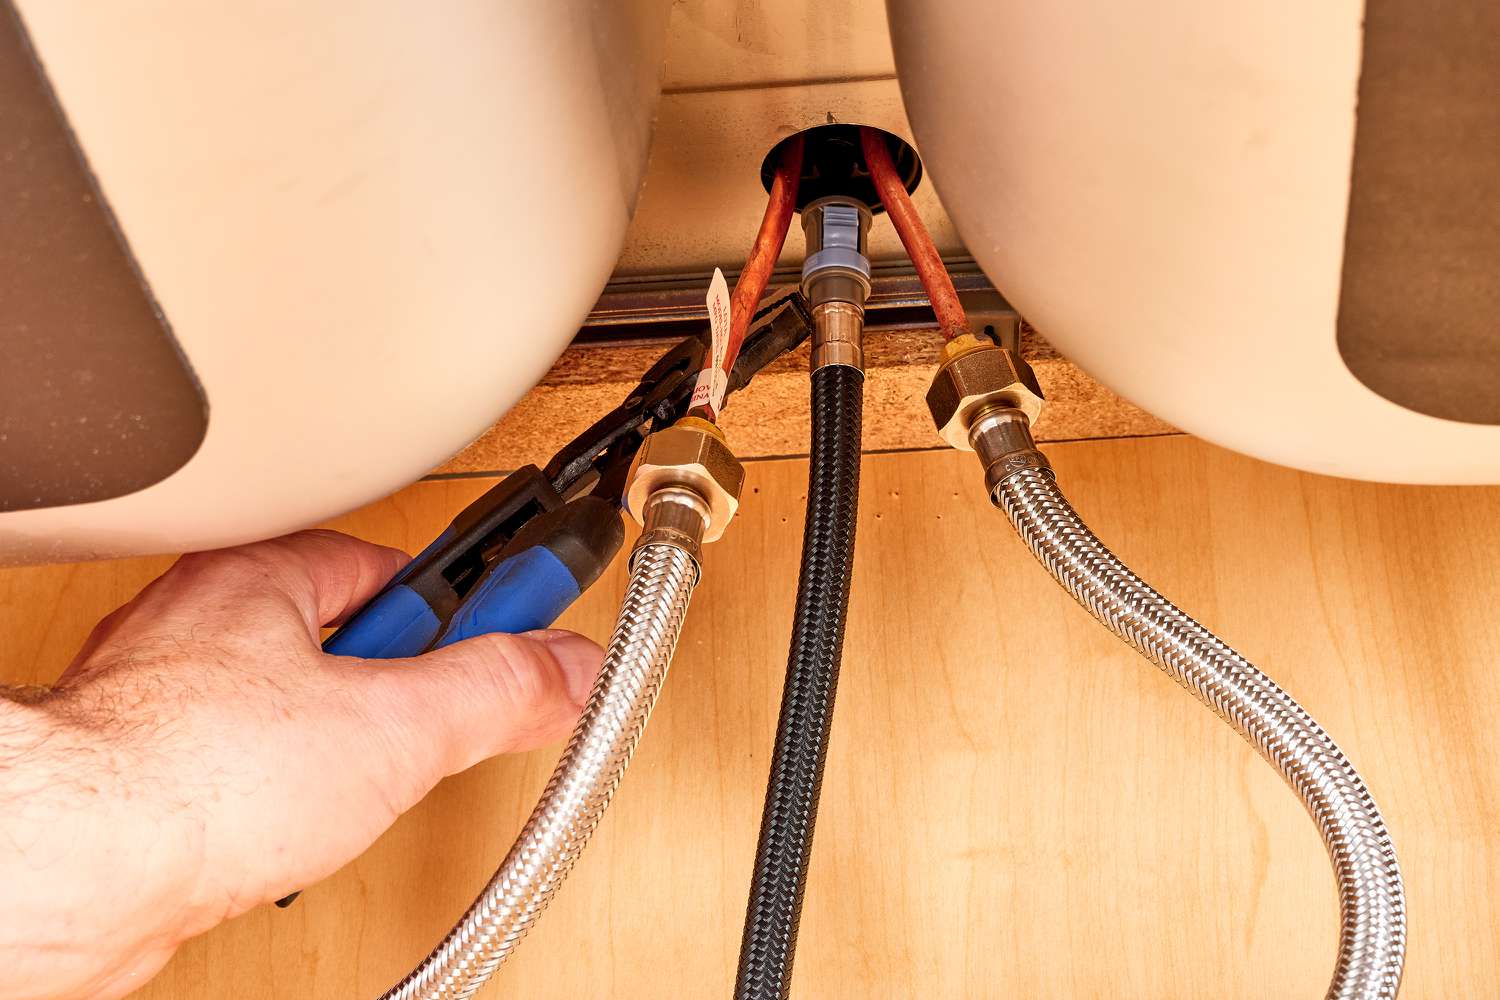
3. Remove the Old Sprayer Hose
Using pliers or an adjustable wrench, disconnect the sprayer hose from both the faucet sprayer head and the water supply connection under the sink. Take note of how the hose is connected to ensure proper reinstallation later.
4. Install the New Sprayer Hose
Attach the replacement sprayer hose to the faucet sprayer head and the water supply connection. Ensure the connections are tight but avoid over-tightening to prevent damage. Use plumber’s tape on the threaded fittings for a secure seal.
See more: How to Fix a Leaking Kitchen Faucet
5. Test for Leaks and Functionality
Once the new sprayer hose is securely in place, turn on the water supply and test the functionality of the sprayer. Check for any leaks around the connections and ensure the water flows smoothly through the sprayer head.
Additional Tips and Considerations
- If you are unsure about any step or encounter difficulties during the process, it is advisable to consult a professional plumber for assistance.
- Regular maintenance and cleaning of your kitchen sink sprayer can help prolong its lifespan and prevent future issues.
- Consider replacing the entire kitchen faucet if the sprayer hose issues persist or if your faucet is outdated and in need of an upgrade.
Congratulations! You have successfully replaced the sprayer hose on your kitchen sink, restoring functionality and convenience to your daily kitchen tasks. By following this comprehensive guide, you have taken a proactive approach to address sprayer hose issues effectively. Remember to perform regular maintenance and keep your kitchen sink sprayer clean to prevent future problems. Enjoy the improved functionality of your kitchen sink and happy cooking!
Remember, if you ever need assistance or prefer professional help, our team of experts is just a phone call away. We are dedicated to ensuring your kitchen operates seamlessly and efficiently.