How to Fix a Leaking Kitchen Faucet: A Step-by-Step Guide
A leaking kitchen faucet can be a frustrating and inconvenient problem to deal with. Not only does it waste water and increase your utility bills, but it can also cause damage to your kitchen fixtures and cabinets if left untreated. In this article, we will provide you with a step-by-step guide on how to fix a leaking kitchen faucet. Whether you are a DIY enthusiast or a homeowner looking to save money on plumbing repairs, this guide will help you resolve the issue and restore your faucet to its proper working condition.
Understanding the Common Causes of a Leaking Kitchen Faucet
Before diving into the steps to fix a leaking kitchen faucet, it’s important to understand the common causes of this issue. Leaks can occur due to worn-out gaskets, O-rings, or cartridges, loose connections, or a damaged valve seat. By identifying the underlying cause, you can effectively address the problem and ensure a successful repair.
Gathering the Necessary Tools and Materials
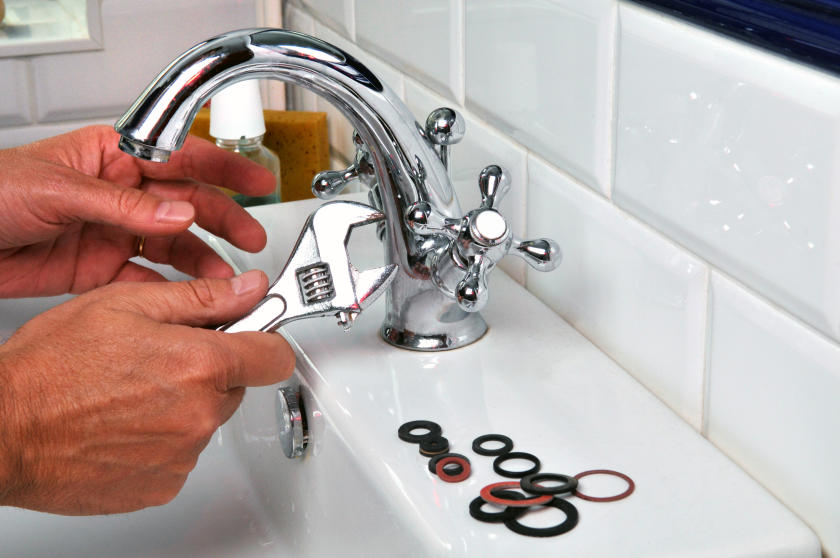
To fix a leaking kitchen faucet, you’ll need a set of basic tools and materials. These may include an adjustable wrench, screwdrivers (both flathead and Phillips), pliers, a utility knife, replacement parts (such as O-rings, cartridges, or gaskets), plumber’s tape, and a bucket or towel to catch any water spills during the repair process.
See more: How To Reheat Food Without A Microwave ?
Shutting Off the Water Supply
Before you begin disassembling the faucet, it is crucial to shut off the water supply to prevent any water leaks. Locate the water shut-off valves under the sink and turn them clockwise until they are fully closed. Once the water supply is turned off, open the faucet handles to release any remaining water pressure.
Disassembling the Faucet
Using the appropriate screwdriver, remove the handle of the kitchen faucet to expose the cartridge or valve assembly. Depending on the faucet type, you may need to unscrew a decorative cap or pry off a cover plate to access the screws. Once the handle is removed, carefully take out the cartridge or valve assembly by unscrewing it from the faucet body.
Inspecting and Replacing Faulty Components
With the faucet disassembled, carefully inspect the O-rings, gaskets, and cartridges for any signs of damage, wear, or mineral buildup. If you notice any issues, replace the faulty components with new ones. Ensure that the replacement parts are compatible with your specific faucet model. Applying plumber’s tape to the threads of the new components can help create a watertight seal.
Reassembling the Faucet
After replacing any faulty components, reassemble the faucet by following the reverse order of the disassembly steps. Make sure all the parts fit securely and tighten any screws or fittings as necessary. Take care not to overtighten, as it can cause damage or leaks.
Testing for Leaks
Once the faucet is reassembled, it’s important to test it for leaks before restoring the water supply. Turn on the water valves slowly and observe the faucet for any signs of leaks. If you notice any leaks, check the connections and make any necessary adjustments or tightenings. Repeat the testing process until no leaks are detected.
Additional Tips for Maintaining a Leak-Free Kitchen Faucet
To ensure a long-lasting and leak-free kitchen faucet, consider implementing these maintenance tips:
- Regularly clean the aerator to remove mineral buildup and sediment.
- Avoid using excessive force when operating the faucet handles.
- Check for any loose connections periodically and tighten them if needed.
- Address any leaks promptly to prevent further damage and wastage of water.
- Schedule regular inspections by a professional plumber to identify and fix potential issues before they worsen.
Conclusion
Fixing a leaking kitchen faucet is a manageable task that can save you money on plumbing repairs and conserve water. By following the step-by-step guide provided in this article, you can successfully diagnose and resolve the issue. Remember to gather the necessary tools, shut off the water supply, disassemble the faucet, inspect and replace faulty components, reassemble the faucet, and test for leaks before restoring the water supply. By implementing proper maintenance practices, you can keep your kitchen faucet in optimal condition for years to come.
FAQs (Frequently Asked Questions)
- Q: How long does it take to fix a leaking kitchen faucet?
- A: The time required to fix a leaking kitchen faucet depends on the severity of the issue and your level of experience. It can range from 30 minutes to a couple of hours.
- Q: Can I fix a leaking kitchen faucet without professional help?
- A: Yes, most leaking kitchen faucet repairs can be done without professional help. However, if you are unsure or uncomfortable with DIY repairs, it’s recommended to consult a professional plumber.
- Q: What if I don’t have the necessary tools to fix the faucet?
- A: You can purchase or borrow the required tools from a local hardware store. Alternatively, consider asking a friend or neighbor if they have the tools you need.
- Q: Are all kitchen faucets the same, or do they vary in terms of repair methods?
- A: Kitchen faucets can vary in design and manufacturer. It’s essential to identify your faucet type and consult the manufacturer’s instructions or online resources for specific repair methods.
- Q: Is it normal for a newly repaired faucet to have some residual water dripping?
- A: It is common to experience some residual water dripping after a repair. However, if the dripping continues or increases, it may indicate an incomplete repair or another underlying issue. Consider rechecking the connections and components.