A Step-by-Step Guide on How to Make a Kitchen Island Out of Base Cabinets
In the realm of DIY home improvement, creating a kitchen island from base cabinets stands as a popular and practical project. Whether you’re looking to enhance storage, add workspace, or introduce a stylish focal point to your kitchen, this step-by-step guide will lead you through the process of making a kitchen island out of base cabinets. Dive into the world of creativity and functionality as we explore the tools, materials, and techniques needed for this rewarding project.
1. Planning Your Kitchen Island Project:
Key Points:
- Assessing Kitchen Space
- Determining Island Dimensions
- Purpose of the Kitchen Island
Before diving into construction, meticulous planning is crucial. Assess your kitchen space, considering traffic flow and existing features. Determine the dimensions of your island and clarify its purpose – whether it’s for additional workspace, storage, or a combination of both.
2. Selecting the Right Base Cabinets:
Key Points:
- Compatibility with Kitchen Style
- Optimal Height and Depth
- Number of Cabinets Needed
Choosing the right base cabinets sets the foundation for your kitchen island. Ensure compatibility with your kitchen style, consider the optimal height and depth, and decide on the number of cabinets needed to achieve your desired island size.
3. Gathering Materials and Tools:
Key Points:
- Materials for Countertop and Backer Board
- Necessary Tools (Saw, Screws, Drill)
- Safety Gear
Gather all necessary materials, including plywood or butcher block for the countertop, backer board, and the chosen base cabinets. Equip yourself with the essential tools such as a saw, screws, and a drill. Don’t forget safety gear like gloves and safety glasses.
4. Assembling the Base Cabinet Structure:
Key Points:
- Arranging Cabinets for Stability
- Securing Cabinets Together
- Checking for Level and Square
Assemble the base cabinets, arranging them in the desired layout for stability. Secure the cabinets together using screws, ensuring the structure is level and square. A solid foundation is key to the durability of your kitchen island.
5. Adding Custom Features for Functionality:
Key Points:
- Incorporating Shelves or Drawers
- Installing Pull-Out Trays
- Enhancing Storage Options
Customize your kitchen island by incorporating additional features like shelves, drawers, or pull-out trays. Tailor these elements to meet your specific storage needs and enhance the functionality of your island.
See more: Can You Paint Kitchen Cabinets
6. Constructing the Countertop:
Key Points:
- Choosing the Right Countertop Material
- Measuring and Cutting the Countertop
- Attaching Countertop to the Base Cabinets
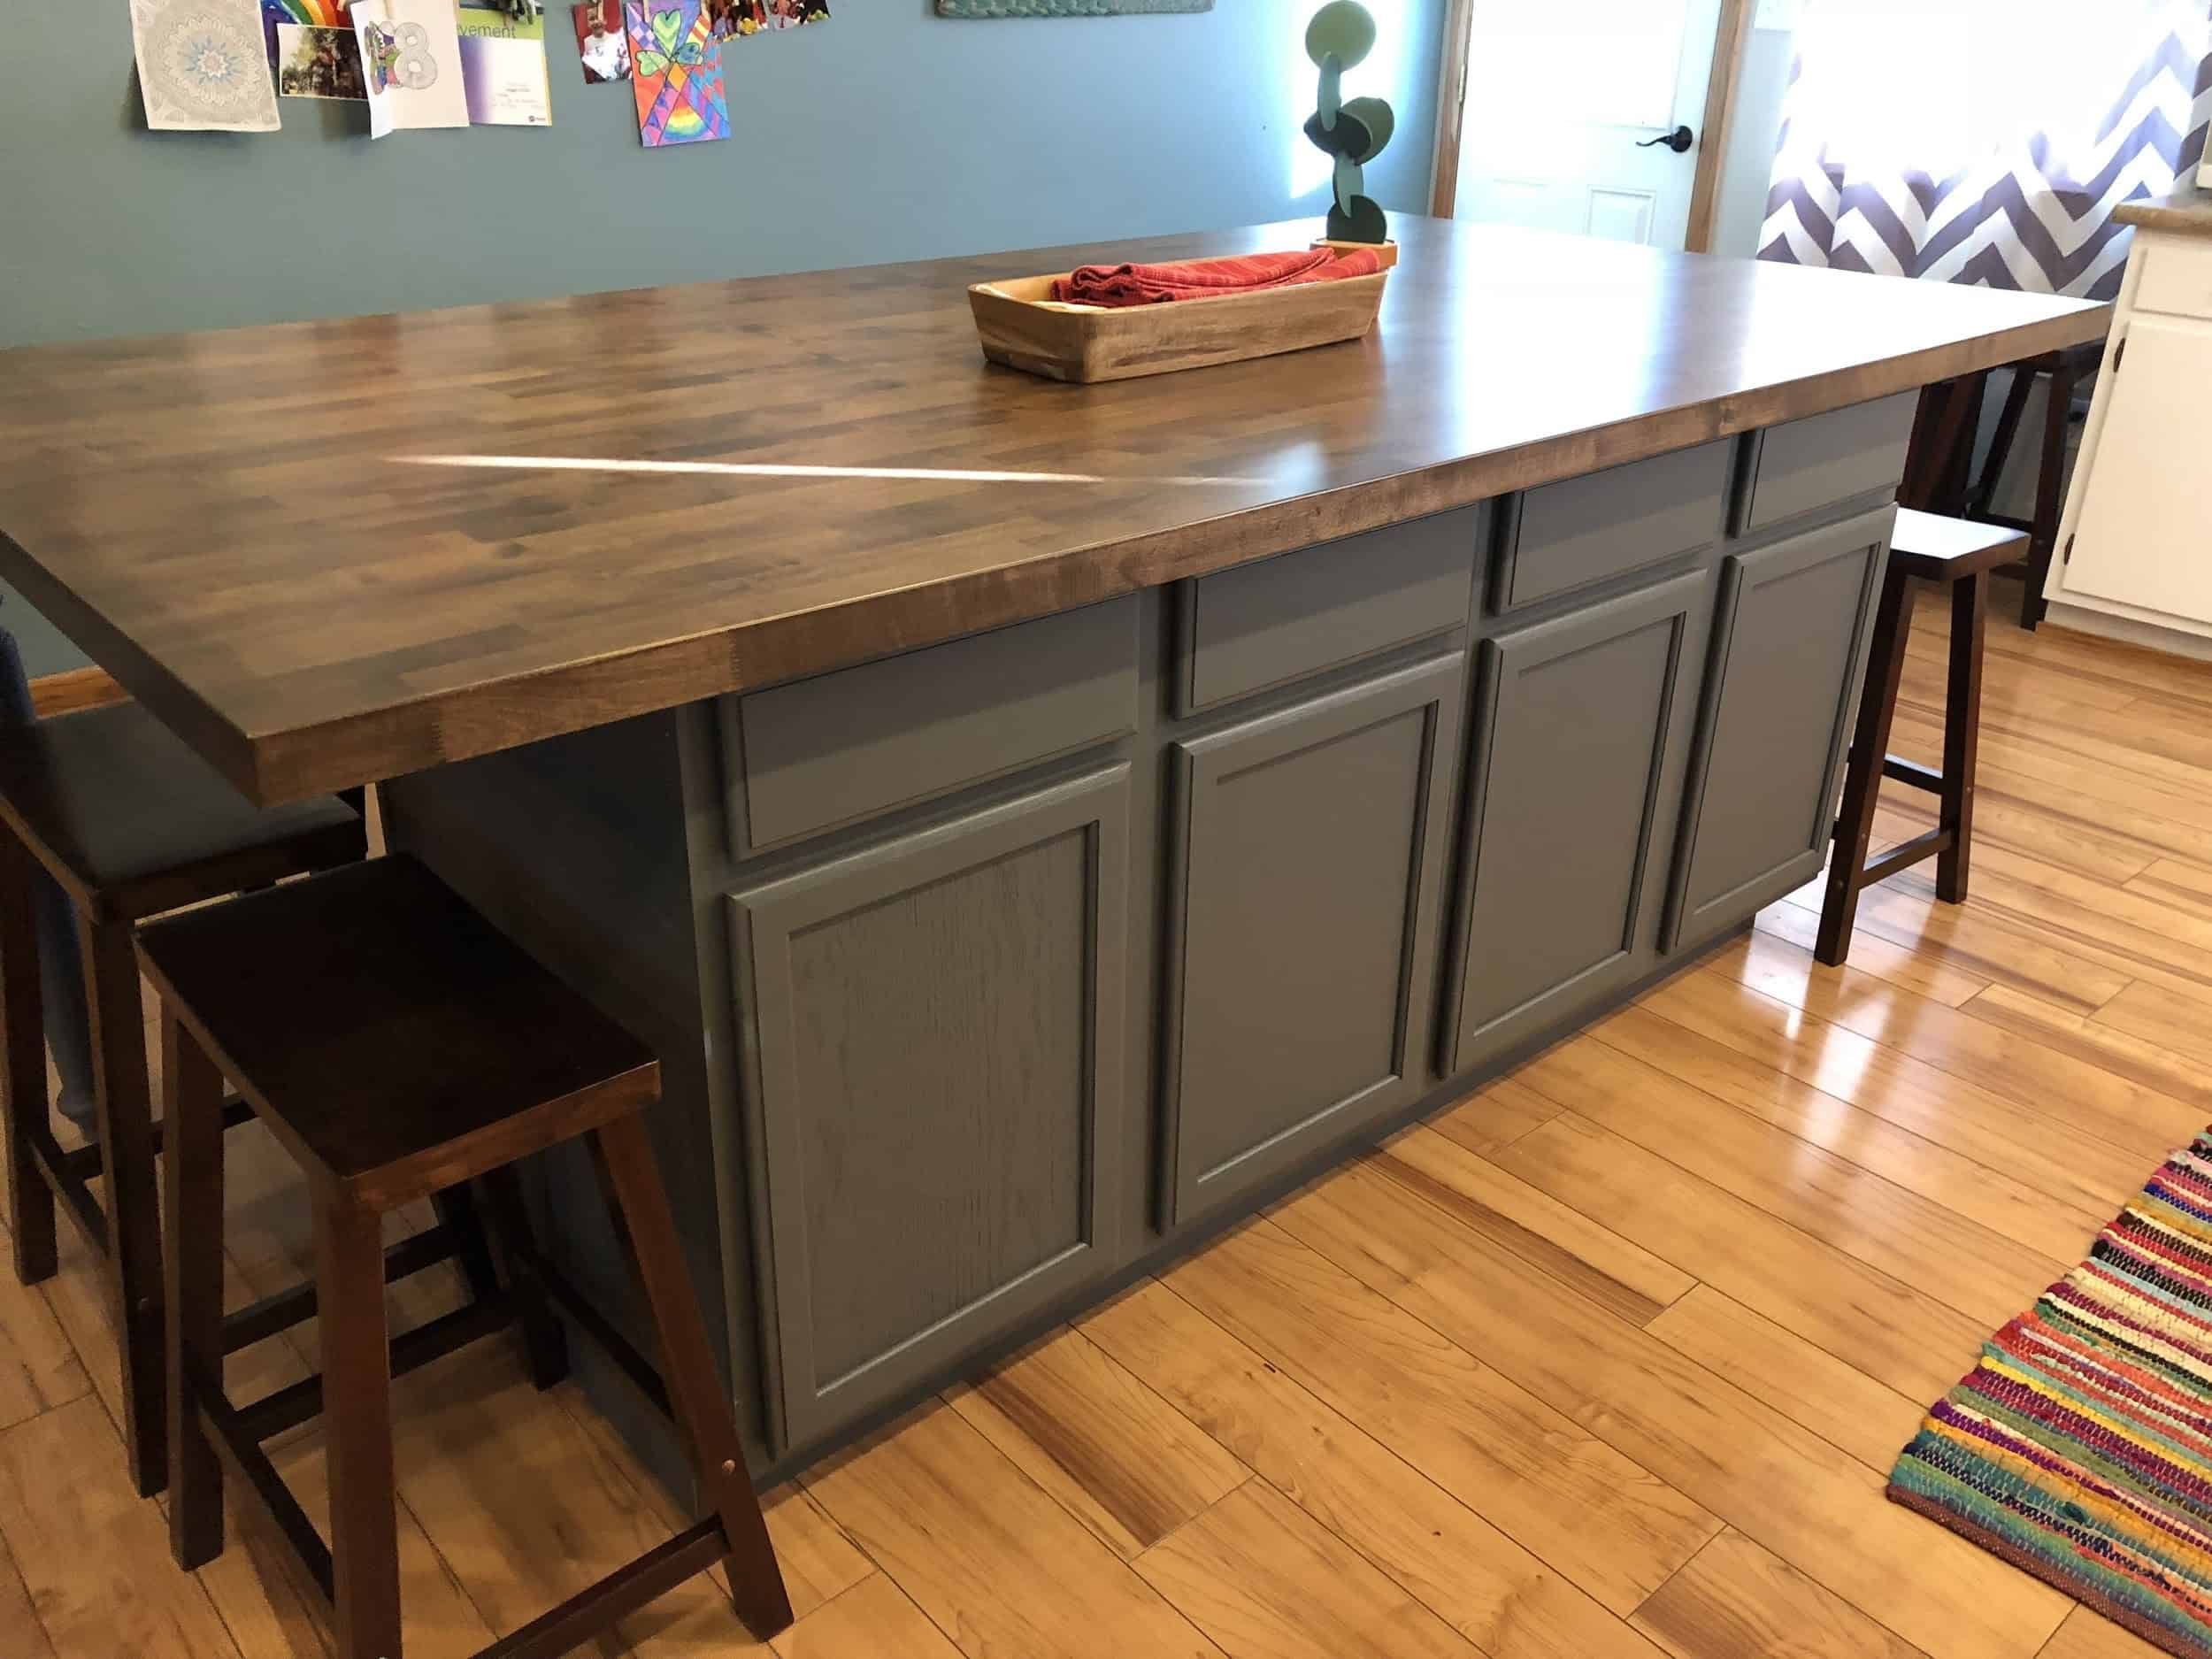
The countertop is a focal point of your kitchen island. Choose the right material – whether it’s granite for luxury, butcher block for warmth, or another suitable option. Measure and cut the countertop to fit, then securely attach it to the base cabinets.
7. Finishing Touches for Aesthetics:
Key Points:
- Sanding and Smoothing Edges
- Applying Finish or Paint
- Adding Decorative Molding or Trim
Refine the appearance of your kitchen island by sanding and smoothing any rough edges. Apply a finish or paint that complements your kitchen’s aesthetic. Consider adding decorative molding or trim for an extra touch of style.
8. Ensuring Stability and Safety:
Key Points:
- Securing the Island to the Floor
- Checking for Wobbling or Instability
- Addressing Any Structural Issues
Ensure the stability and safety of your kitchen island by securing it to the floor using brackets or screws. Regularly check for any signs of wobbling or instability, addressing structural issues promptly to maintain the integrity of your DIY creation.
9. Maintenance and Care Tips:
Key Points:
- Cleaning and Protecting the Countertop
- Avoiding Heat Damage
- Addressing Spills Promptly
Preserve the longevity and beauty of your kitchen island with proper maintenance. Clean and protect the countertop with appropriate products, avoid placing hot pans directly on the surface, and address spills promptly to prevent staining.
See more: How to Clean Kitchen Cabinets Grease
FAQs
1. What considerations should be made when planning a kitchen island project?
When planning a kitchen island project, consider the available kitchen space, the island’s dimensions, and its intended purpose. Assess traffic flow, and determine whether the island will primarily serve as additional workspace, storage, or a combination of both.
2. How do I choose the right base cabinets for my kitchen island?
Choose base cabinets that complement your kitchen style, ensuring compatibility with the existing décor. Consider the optimal height and depth of the cabinets, and decide on the number of cabinets needed to achieve your desired island size.
3. What safety gear is essential for building a kitchen island?
Essential safety gear for building a kitchen island includes gloves and safety glasses. These protect your hands and eyes during the construction process, reducing the risk of injury.
4. Can I customize my kitchen island with additional features?
Yes, you can customize your kitchen island with additional features to enhance functionality. Consider incorporating shelves, drawers, or pull-out trays to meet your specific storage needs.
5. How do I choose the right countertop material for my kitchen island?
The right countertop material depends on your aesthetic preferences and the intended use of the island. Options include granite for a luxurious feel, butcher block for warmth, or another suitable material that complements your kitchen’s style.
6. Is it necessary to secure the kitchen island to the floor?
Securing the kitchen island to the floor is advisable, especially if it includes heavy appliances or serves as a seating area. This can be done using brackets or screws to ensure a sturdy and safe structure.
7. How do I address wobbling or instability in my kitchen island?
Regularly check for signs of wobbling or instability in your kitchen island. If issues arise, investigate and address them promptly. This may involve tightening screws, reinforcing the structure, or making necessary adjustments to ensure stability.
8. What maintenance tips should I follow to preserve my kitchen island?
To preserve your kitchen island, clean and protect the countertop with appropriate products. Avoid placing hot pans directly on the surface to prevent heat damage, and address spills promptly to prevent staining. Regular maintenance ensures the longevity and beauty of your DIY creation.
Interesting Facts about Making a Kitchen Island from Base Cabinets
| Fact | Description |
|---|---|
| 1. Customization | Creating a kitchen island from base cabinets allows for a high level of customization, tailoring the island to your specific needs and style preferences. |
| 2. Cost-Effective Solution | Building a kitchen island from base cabinets can be a cost-effective alternative compared to purchasing a pre-made island, saving money while achieving a personalized look. |
| 3. Storage Opportunities | Base cabinets offer ample storage space, providing an opportunity to enhance the functionality of your kitchen island with drawers and cabinets for utensils, cookware, and more. |
Conclusion
Crafting a kitchen island from base cabinets is a rewarding DIY project that adds both functionality and style to your kitchen. By following this comprehensive guide, you’ve gained the knowledge and confidence to embark on this creative endeavor. Whether you’re seeking additional workspace, storage, or a design focal point, your customized kitchen island will become a testament to your craftsmanship and creativity. Embrace the process, enjoy the journey, and revel in the convenience of your newly crafted kitchen island.